Devices refer to physical PCs or other hardware used by operators to access the system, typically on the shop floor. These devices are registered within the system. When the application is accessed from a registered device, the UI can provide information relevant to the device's location, and direct user to a specified report or screen, often a specific workstation screen with minimal navigation.
Here are a few examples of devices:
- A fixed workstation that has visibility to multiple work centres in a cell or area.
- A fixed display dashboard on the wall of the factory or production office showing data related to that department.
- Registered tablet that people use on the shop floor.
- A device dedicated to one work centre that can only be used to book onto work at that work centre.
- A fixed workstation that has access to several work centres and is shared by a group of users.
Device Setup
This is how to configure a device as a workstation:
- Navigate to the Devices screen.
- Click the New button and complete the New Device screen.
New/Edit Device Screen
Blue fields in the form are required and are flagged with an asterisk (*) in this document.
- Name*: Identifier for the device. Note that this should be easily recognisable for people in the site as it is a key for finding work.
- Description: Provide a description for the device.
- Menu Item: This is the "Home" screen for the device. Select Workstation for shop floor workstations.
- Label Printer: If there is a local printer at the workstation that you want label print jobs to default to, it can be configured here.
- Full Screen: If set to Yes, the left hand menu will not be displayed otherwise the menu is displayed. The recommendation is Yes for workstation.
- Trusted: Trusted devices are typically in a restricted location and can only be accessed by approved staff. Typically these are fixed to the floor and cannot be used without oversight. If a device is trusted, password access can be relaxed for designated users that are restricted to trusted devices only allowing them to log on with minimum keystrokes.
- Workstation: Select Yes for shop floor devices. Workstations provide a simplified user interface without the complex menu for maximum efficiency on the shop floor.
- Always On: If devices are Always on then they are monitored by support to ensure that they are connected. A device should only be Always on if they are dashboards.
- Button Profile: Controls the buttons operators have available from the workstation screen (note that the button profile only makes buttons in the workstation screen visible/invisible. You cannot add buttons to the design). For more information, see Button Profile.
- Touch Mode: This should be set to Enabled for touchscreen devices, e.g., tablets. When enabled it stops the cursor on the workstation screen being automatically focused on the search box with every refresh (on a tablet this might cause the screen keyboard to keep appearing every time).
- Ignore Inactivity: Don't lock this device when a user is inactive. Select Yes to turn off auto logout. This should be set to No except for dashboards which expect very little interaction and only have access to read-only screens.
- Login Mode: Sets the default log in mode between manual to SSO.
- Is Active: Allows devices to be deactivated if no longer in use. Deactivated devices no longer appear in any screens.
Note
If you are creating a new work centre, you can automatically generate a corresponding device with standard workstation settings in the background. You can select Yes on the Create Device option.
In old versions of the MES, you would need to assign a license to a device. To do this, click Manage Licence, and assign a licence. This is not a requirement in later versions of the system.
Device Visibility
Devices will often need to have visibility of work available to book onto at multiple work centres, especially where these are shared hardware in the middle of a production floor or area.
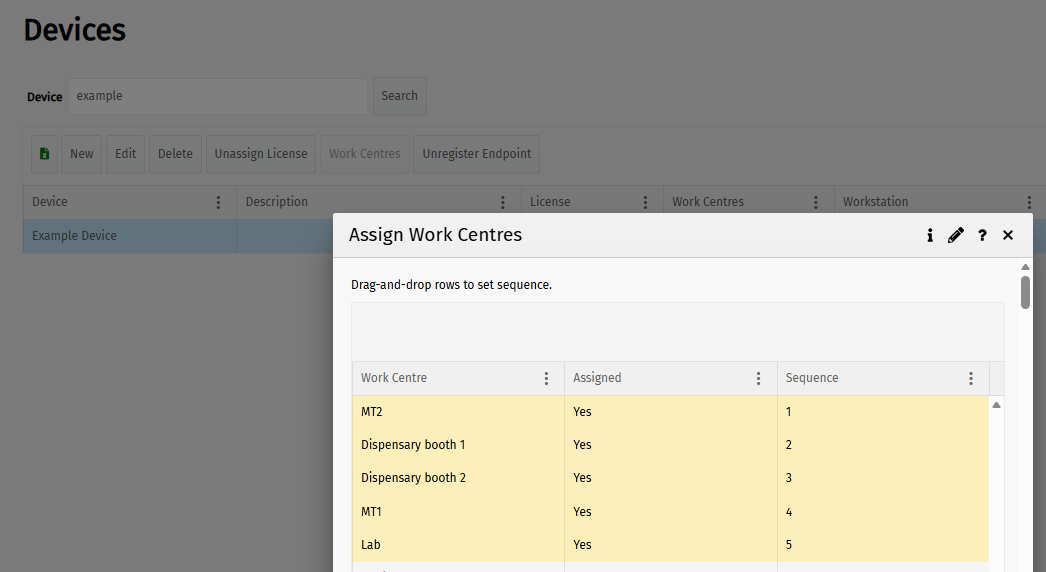
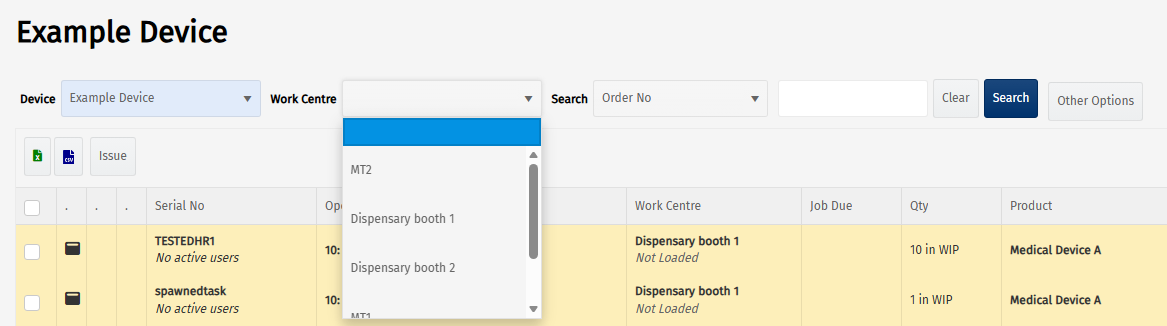
You can link devices to the work centres they can view by selecting the device, clicking the Work Centres button in Devices screen, and assigning work centres as needed. You can also set the order in which the work centres are displayed in the work centre dropdown for the device, e.g., if one work centre is the primary one that is used most of the time you, you probably want this at the top of the dropdown list.
Note
Note that one of the validations for approving/publishing a workflow in MES-M is that all operations are able to be booked onto on the shopfloor. This means that for every operation at least one work centre that's linked to that operation must also be assigned to a device.
Device as a Dashboard
Devices can be configured to display dashboards on the walls of the shop floor or production office. To do so, you have to select the dashboard in the Menu Item field when setting up a device as described in a section above.
Dashboards are often be used to show reports such as:
- Current bookings (to help reinforce booking on/off jobs)
- Utilisation results
- OEE results
- Work-to plans
- Scheduled work and status
- Machine status
Note that there is a report option to build a carousel that allows you to configure a scrolling dashboard. This can then be referenced as the Menu Item. Contact Eyelit support for assistance with this.
Admin Device
This is a system device that has visibility of all work on all work centres to be used by experienced administrators only. This should not be used as a shopfloor workstation as it does not refresh automatically (all other devices auto refresh). You need permissions to use or view this device.
Registering a Device
Once a device is created you can then register it to a specific pc, tablet, etc. Once this hardware is registered, when anyone logs in, the name of the device is displayed and the login mode defaults to device mode.
To register a device:
- Log into Eyelit MES from the hardware you want to use.
- Click on your user profile icon in the top right corner and select Register Device.
- Select an available device and click Register. Confirmation box will appear. Registration is achieved via cookies on the web site.
- Log on again for the device configuration changes to take effect.
Using a Registered Device
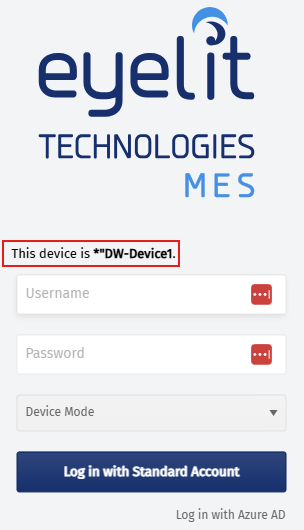
A registered device will have the name of the device on the log in screen, with the login method configured (Standard Account or Azure AD) and will default to Device Mode. This will pick up all the device settings and if configured, route to the default menu item when you log in.
If a user is already booked to work on a work centre visible to the device when they log in, the specific action they are booked onto will automatically open to get them quickly back to where they need to be. This is useful for shared work stations where people use the Continue and Log Off option.
If you wish to log in as a user you can select the User Mode in the drop down and this will bypass all of the device settings.
Unregister a Device
If you replace the hardware for a device on the shopfloor you will need to unregister from the old device before you can register the new one.
To unregister a device:
- Log into Eyelit MES in User Mode.
- Navigate to the Devices screen and select the device.
- Click the Unregister Endpoint button.
Note that if you want to reuse the old device elsewhere you may have to clear the cookies on the webpage as registration is achieved with cookies.