Eyelit MES supports multi-language capabilities that enable flexible localisation so that most web application elements can be displayed in the user's preferred language. This can be especially useful in factories where there may be multiple languages spoken across the site/shop floor.
Translatable elements within the application include labels, buttons, tooltips, menu items, messages, and system base data such as statuses, categories, types, grid contents, etc.
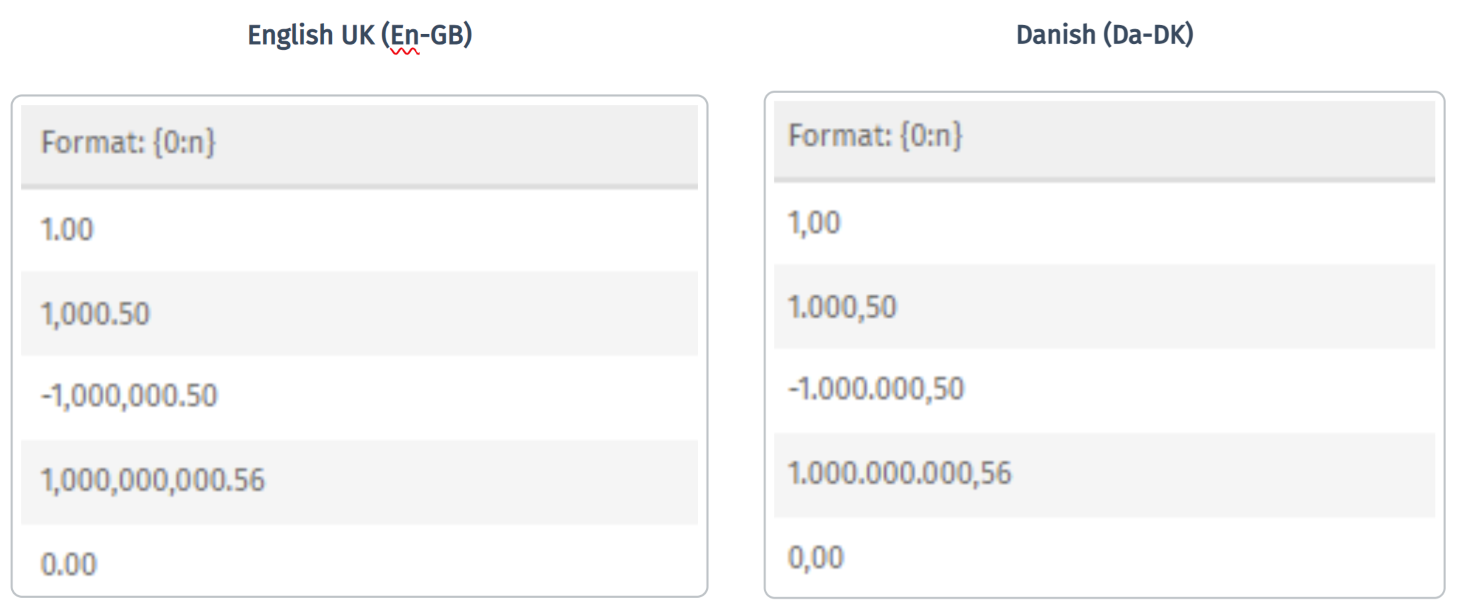
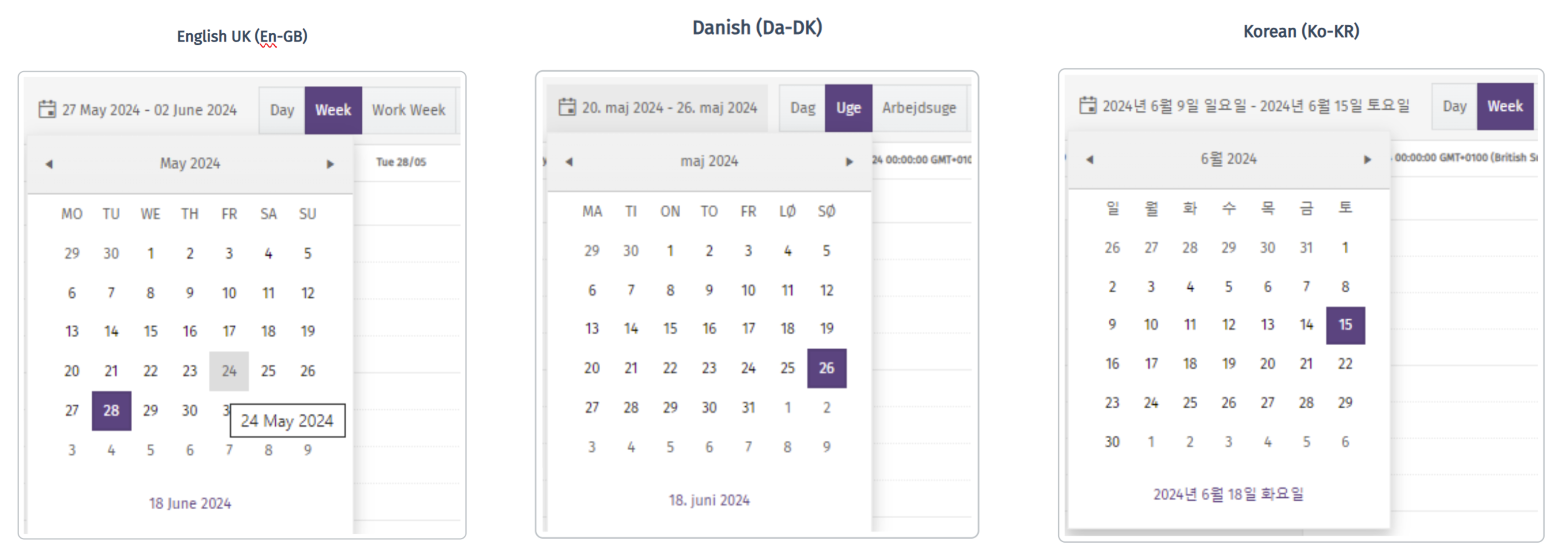
Changing the user language also changes the culture setting, which affects the date format, number format (i.e. decimal point and grouping), week start day, etc.
Examples of number formats
Examples of date formats
The system supports:
- System languages: Consists of a standard set of translations which can only be updated by Eyelit developers.
- Custom languages: Customer-defined translations which are based on a system language but with customer-specific variations. The variation overrides the system translations.
The system and custom languages have translations, and each translation includes:
- ID
- System language translation IDs are negative.
- Custom language translation IDs are positive.
- Key
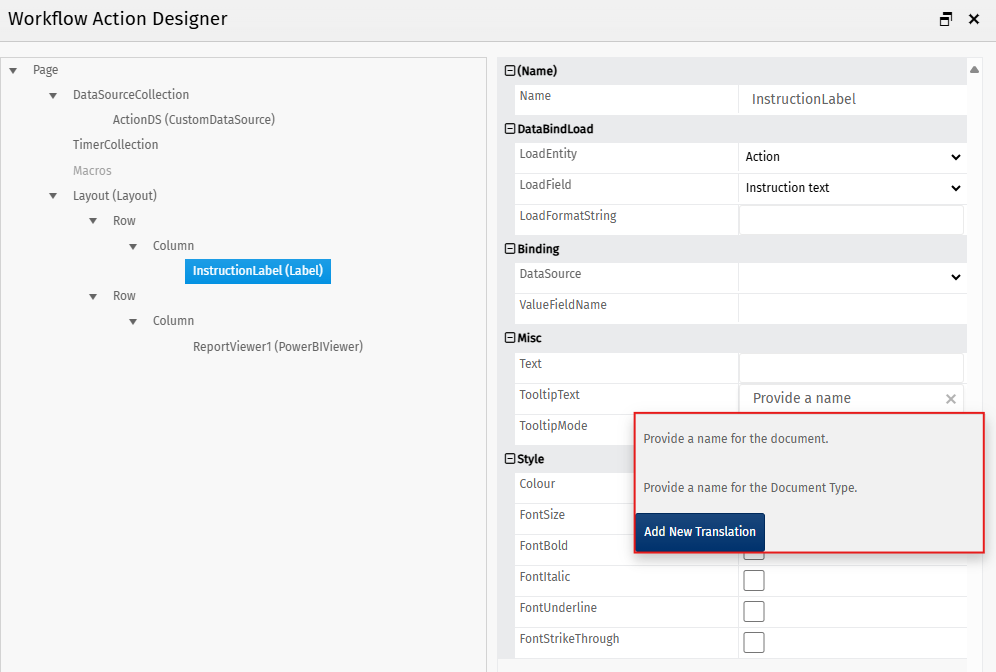
- Translation keys can be user-defined or automatically generated in the UI (for example, when adding a tooltip to a custom workflow action).
Note that custom translations dictionaries do not need to be 100% populated - they only override system translations if they exist. If a custom translation for a given key is null then the defined default system translation for the schema is used automatically.
Assign a Language
Each user has a default language defined in a user property. This property can be set on the Edit User screen.

Create a Custom Language
The product ships with translations for a set of system languages. When you create a custom language, you can base it off a system language (the "base language"). This means you only need to override the specific phrases you want to change, while leaving the rest of the translations as they are in the base language.
When the system looks up a translation, it first checks if a translation exists for the custom language. If it doesn't find one, it checks if one exists for the base language. If neither exists, the system defaults to English.
When new releases introduce new phrases in the base language, a new translation key is generated - the custom language for this will be null and the user will automatically see base language unless a custom translation for the new key is populated. Phrases that were created in the custom language are unaffected by new releases.

New Custom Language
To create a new custom language:
- Navigate to the Language page and click the New button to display the New Language page.
- Complete the New Language input screen.
Blue fields in the form are required and are flagged with an asterisk (*) in this document.
- Code*: The code needs to be descriptive of the language as it's used as the column name for the language.
- Description*: Provide a short description of the language.
- Base Language*: Select the base (system) language which the custom language will be based on.
- Webapp: Toggle On if this language will be applied to the Webapp. Default is On.
- Product Label: Toggle On to apply the custom translations to product labels. Default is On.
Note: Product labels are approved and cached at the time the label is created. The language translation is cached at this point and doesn't change even if the translation changes. Whatever you've approved, will not change.
- Click Save. This could run for several seconds as it's copying an entire system language into the custom language.
Translation Management
Translations can be added to a language in two ways:
- From the Translations page: Add translations New Custom Translations screen. This creates a custom translation.
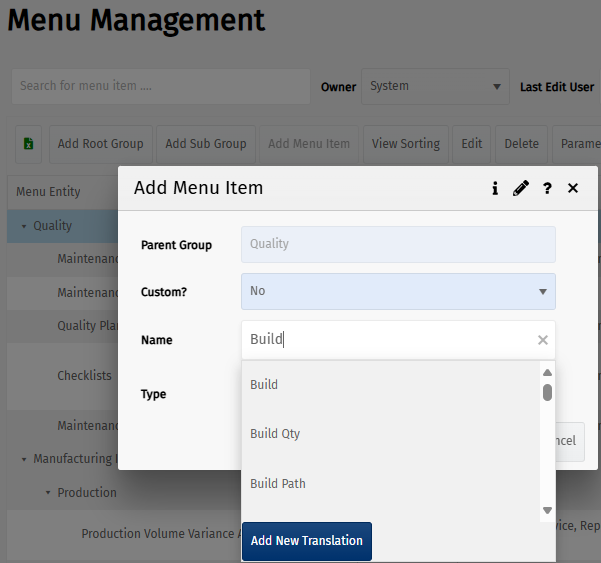
- From fields in application pages: Some fields will prompt you to add a new translation (or to select from a list based on what you've typed in the text box):
- Custom workflow action: when completing some fields (for example the ToolTip field) you will receive a pop-up of translations (text) you can select from. If the text doesn't already exist, you can choose to Add the New Translation or not to add it.
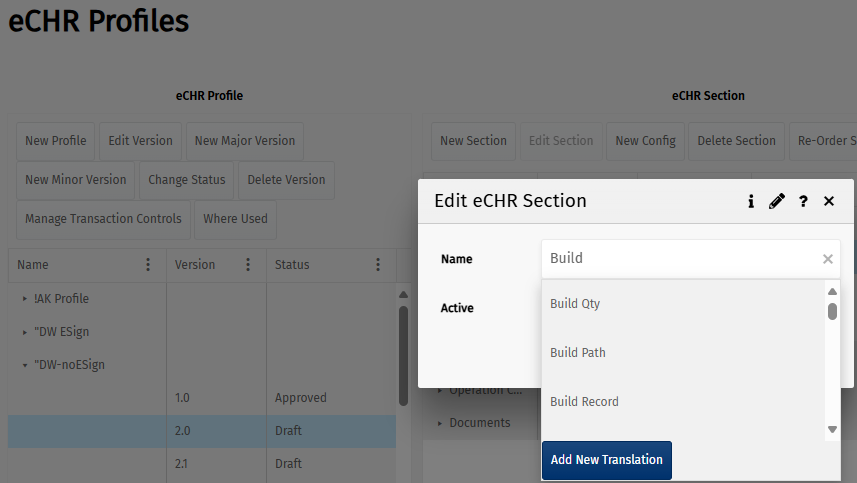
- eCHR Profiles - New eCHR Section (Name field)
- Menu Management - Add Menu Item (Name field).
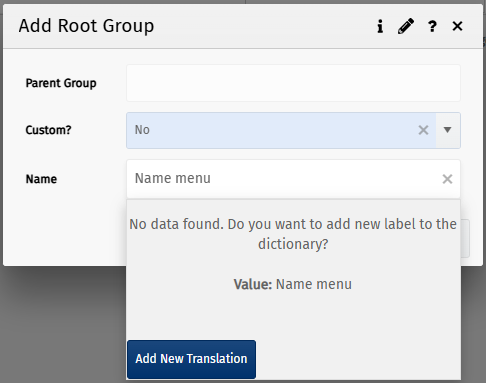
- Menu Management - Add Menu Item (Name field).
New Custom Translation
New custom translations can be manually added or existing ones can be edited within the translations page.
- Navigate to the Translations page and click the New Custom Translation button.
- Complete the New Custom Translation input screen. Populate the required text for base and any other required language in the grid.
New Custom Translation screen
Blue fields in the form are required and are flagged with an asterisk (*) in this document.
- Key*: Identifies the translation. You can specify a key when creating new translations. System-generated translations will create a unique, system-generated key.
- Type* : Select the Translation Type. Options: Product Label Translations, WebApp Messages, WebApp Labels.
- Description: Provide a description for the translation.
- Translations* column: Type translations in the Translations column in the row of the required language.
Edit Custom Translation
- Navigate to the Translations page.
- Select search criteria to filter the results displayed.
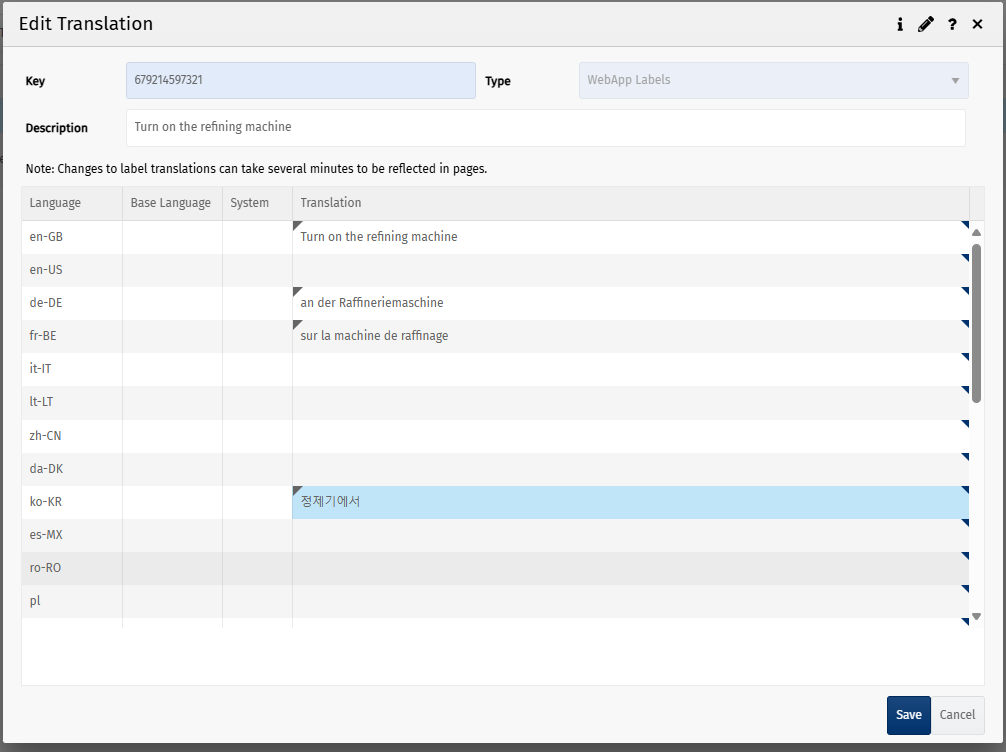
- Select the translation and click the Edit button to display the Edit Translation page.
- Update Key (only if unique). This is mandatory though it will default to the translation key selected in the previous step.
- In the Translation column, you can change existing translations or provide new translations for any of the languages.
- To view the newly edited translation in the Translations screen, you must select the relevant languages. If you want a custom language to display, make sure the Owner field is set to Custom, then click Refresh.
Note
When translations are added or updated, the UI reflects the changes only after the page is republished or when a background refresh event runs. This refresh event occurs every 30 minutes.
Import Translations
You can import translations in bulk from a CSV.
Navigate to the Translations page, click the Import Translations button.
Follow the instructions on the screen.
Where Used
Select a translation, click the Where Used button for a list of pages where the translation is used. Note that translations used elsewhere, such as on product labels, will not be displayed.